React 是一個Web應用程式前端Framework, 而Express 是一個server端的一個Node.js Web 應用程式架構。要令React 前端應用程式可以和server端的API溝通,我們需要將React request proxy 到 server端的API,以下就是相關的步驟。
首先在command prompt下,輸入以下command來制作新的react application:
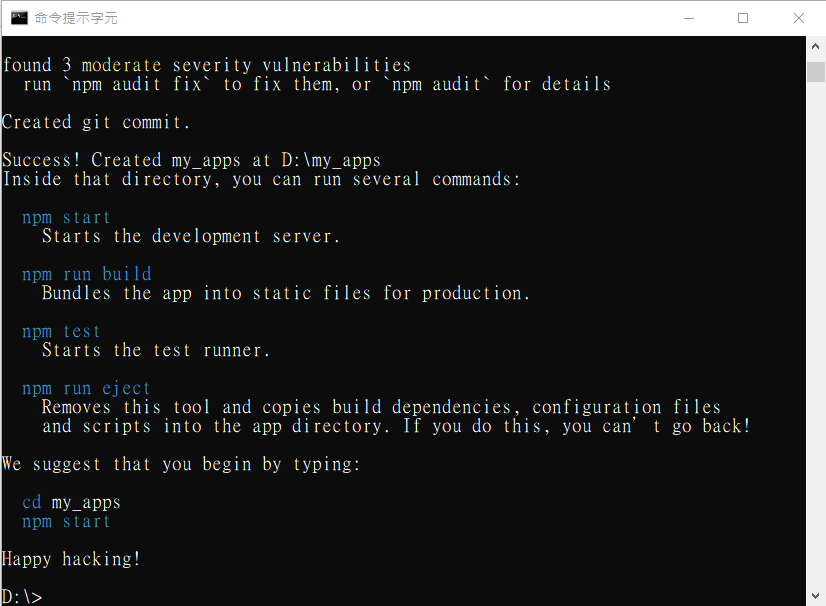
npm init react-app my_apps
制作新的react application 成功之後就出現以下畫面:
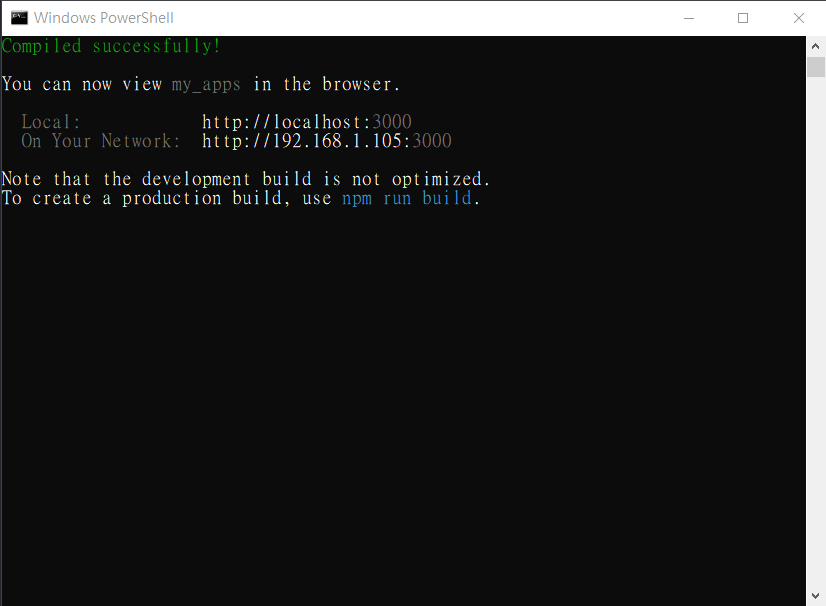
根據螢幕上指示輸入以下command 來啟動新的react application:
cd my_apps
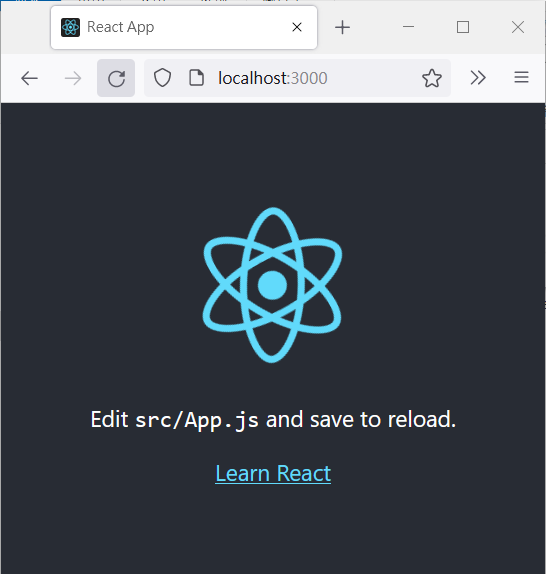
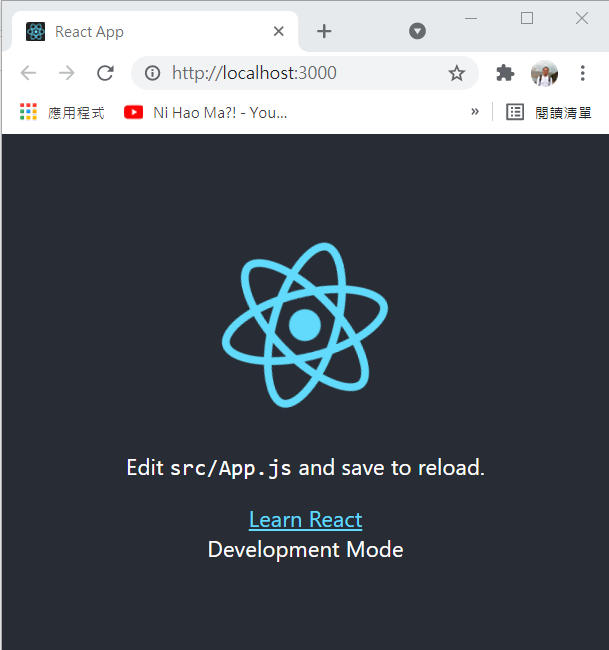
npm start如果啟動成功的話成功之後就出現以下畫面:
還有彈出default browser,然後瀏覽到http://localhost:3000
在command prompt 下按ctrl-c 來停止application,之後輸入以下command來安裝相關Node.js module:
npm install express dotenv-flow nodemon npm-run-all 
先來介紹一下相關node.js module 的用處:
- express:是用來處理http request 的一個node js module。
- dotenv-flow:當我需要讀取環境參數(environmental variable )就需要這個node js module。
- nodemon:在我們更改程式碼儲存之後,透過這個module 它會幫我們restart server,我們不用人手去restart server 令新程式碼生效。
- npm-run-all:就是令我們可以同塒啟動react 和express 的module。
安裝完畢之後, 開啟my_apps/package.json 這個file,然後在scripts section 內加入以下設定:
“dev": “set NODE_ENV=development&&run-p server start",
“server": “nodemon -r dotenv/config ./server/index.js",
完成之後scripts section會變成這樣:
"scripts": {
    "build": "react-scripts build",
	"dev": "set NODE_ENV=development&&run-p server start",
    "eject": "react-scripts eject",
	"server": "nodemon -r dotenv/config ./server/index.js",
	"start": "react-scripts start",
    "test": "react-scripts test"
  }
- “dev": “set NODE_ENV=development&&run-p server start",這句是用來定義environment variable 和同時啟動express 和react。
- “server": “nodemon -r dotenv/config ./server/index.js",這句是用nodemon 來啟動 ./server/index.js 這個server 端程式。
加入以下這句就可以proxy react request 到express server了
"proxy": "http://localhost:8080",由於設定了environment variable NODE_ENV 做development,所以在my_apps這個資料夾內新增一個叫.env.development 的file ,其內容如下:
DATABASE_NAME=my_app_dev
REACT_APP_Mode=Development
REACT_APP_PROXY_HOST=8080
根據react 規定,environment variable name一定要用REACT_APP_開頭的才能在react application內讀到這個variable的value。
之後在my_apps 之下新增一個名叫"server" 的資料夾, 在這個資料夾內新增一個叫index.js 的file, 然後貼上以下程式碼最後儲存這個file。
require('dotenv-flow').config();
const express = require('express');
const app = express();
app.use(express.urlencoded({extended: true}));
console.log('database name:'+process.env.DATABASE_NAME);
app.listen(process.env.REACT_APP_PROXY_HOST, () =>
  console.log('Express server is running on localhost:'+process.env.REACT_APP_PROXY_HOST)
);
這個index.js 的程式碼就是讀取.env.development 這個file 的設定來啟動express server,
除此之外還在console 中顯示"DATABASE_NAME"這個environment variable 的value.
開啟my_apps/src/App.js這個file, 將以下這行程式碼:
{process.env.REACT_APP_Mode} Mode加到"Learn React" 之後,即是以下這樣:
<a className="App-link"
			href="https://reactjs.org"
			target="_blank"
			rel="noopener noreferrer">
			Learn React
</a>
{process.env.REACT_APP_Mode} Mode
然後回到command prompt執行以下命令來啟動server:
cd my_apps
npm start
如果成功的話browser 會出現以下畫面:
之後我們撰寫程式來示範如何call server 端API的,
Client Side(my_apps/src/APP.js)
			import {useEffect,useState} from "react";
			import logo from './logo.svg';
			import './App.css';

			function App() {
				const [greetingMsg,setGreetingMsg]=useState("");
				useEffect(()=>{
					const getData = async () => {
						let url="/api/greeting?locale="+navigator.language;
						fetch(url)
						.then(response=>response.json())
						.then(msg => setGreetingMsg(msg.greeting));
					};
					getData();
				},[]);
				return (
					<div className="App">
						<header className="App-header">
							<img src={logo} className="App-logo" alt="logo" />
							<p>
							Edit <code>src/App.js</code> and save to reload.
							</p>
							<a
								className="App-link"
								href="https://reactjs.org"
								target="_blank"
								rel="noopener noreferrer"
							>
							Learn React
							</a>
							<div>{greetingMsg}</div>
							{process.env.REACT_APP_Mode} Mode
						</header>
					</div>
				);
			}
			export default App;
Server Side(my_apps/server/index.js):
require('dotenv-flow').config();
		const express = require('express');
		const app = express();
		app.use(express.urlencoded({extended: true}));
		console.log('database name:'+process.env.DATABASE_NAME);
		app.get('/api/greeting', (req, res) => {
		  const locale = req.query.locale || 'en-US';
		  console.log(locale);
		  switch (locale){
			case "zh-TW":
				msg="你好嗎";
				break;
			default:
				msg="Hello";
				break;
		  }
		  res.setHeader('Content-Type', 'application/json');
		  res.send({greeting: msg });
		});
		app.listen(process.env.REACT_APP_PROXY_HOST, () =>
		  console.log('Express server is running on localhost:'+process.env.REACT_APP_PROXY_HOST)
		);
解說:
首先由client side 將browser 的locale 傳送到server side 的API(即是/api/greeting),server side 的API收到client side傳來的locale 值之後,
如果收到的locale 是"zh-TW"就會轉回"你好嗎"給client side,如果不是轉回"Hello" 給client side.
完成以後會彈出default browser,然後瀏覽到http://localhost:3000,如果browser的locale設定了"zh-TW",以下畫面就會出現:

如果browser的locale設定了其他值,以下畫面就會出現:

參考網頁:
https://www.twilio.com/blog/react-app-with-node-js-server-proxy
https://create-react-app.dev/docs/proxying-api-requests-in-development/
https://create-react-app.dev/docs/adding-custom-environment-variables/
#javascript
#react
#express